ICTDC.AL SHPK
Manual MBR Software Usage
ADMINISTRATOR Version
Program access link (via web browser)
https://[business_name].mbr.al
1. Access
2.1.
Parameter Configuration WebApp
2.2.
License Setup
2.3.
Fiscalization Configuration
3.1.
New User
3.2.
Edit User
4. Warehouse / Products /
Menu Configuration
4.1.
Category Management
4.2.
Product Management
4.2.1. New Product
4.2.2. Edit Product
5. Supplies
5.1.
Supplier Management
5.2.
Supply Management
5.2.1. New Supply
5.2.2. Active Supply
Compilation
6. Screenshot Tables
6.1.
New Table
6.2.
Edit Table
6.3.
Delete Table
7. Order
7.1.
Added Commands
7.2.
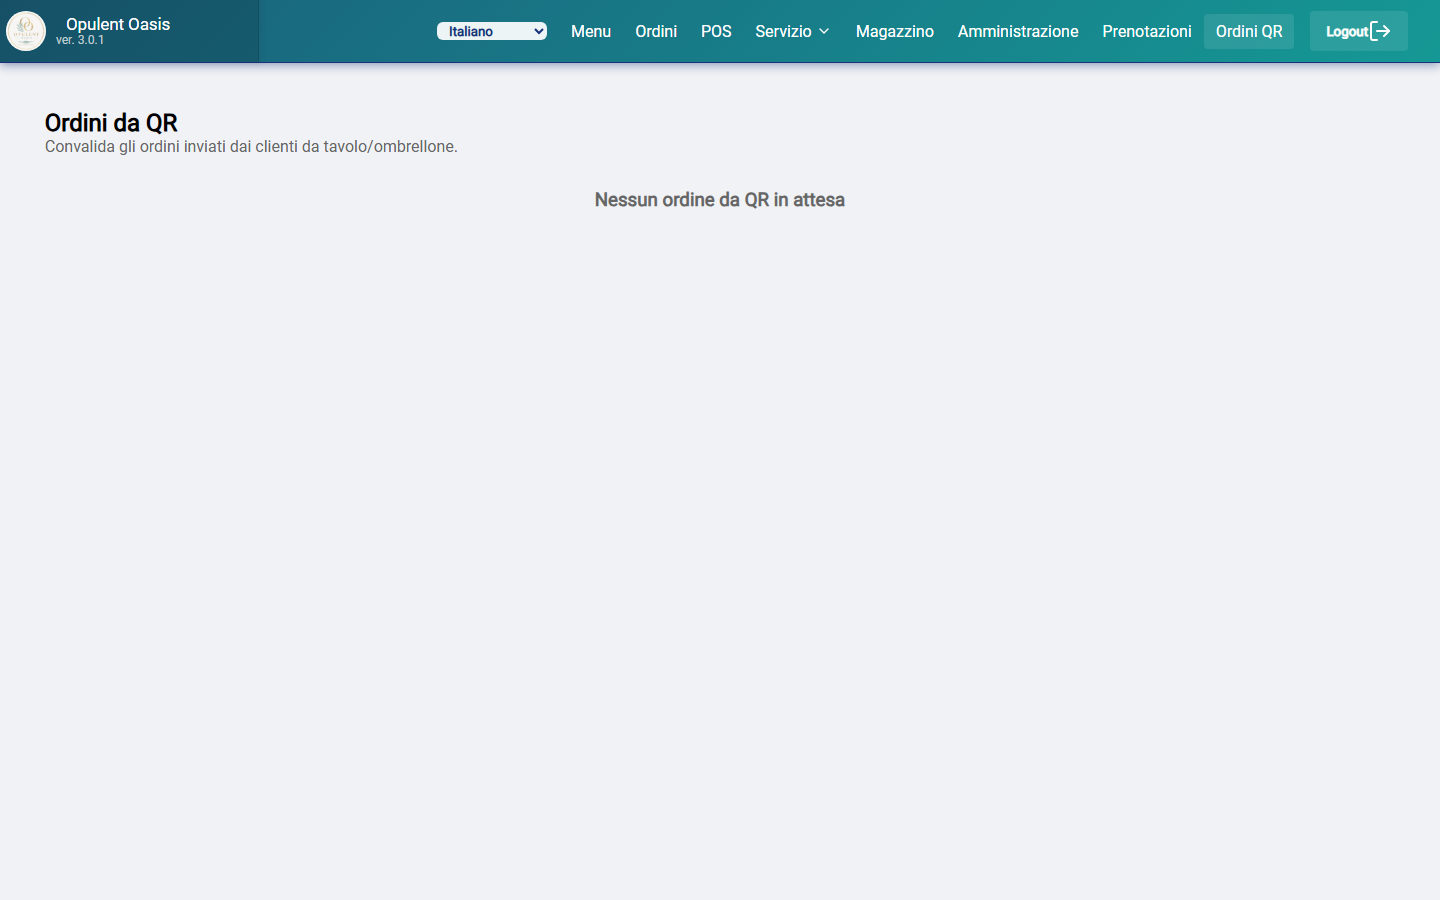
Adding orders from QR-Code
7.3.
Print orders
7.4.
Edit commands
7.5.
Closing and payment
10.
Menu

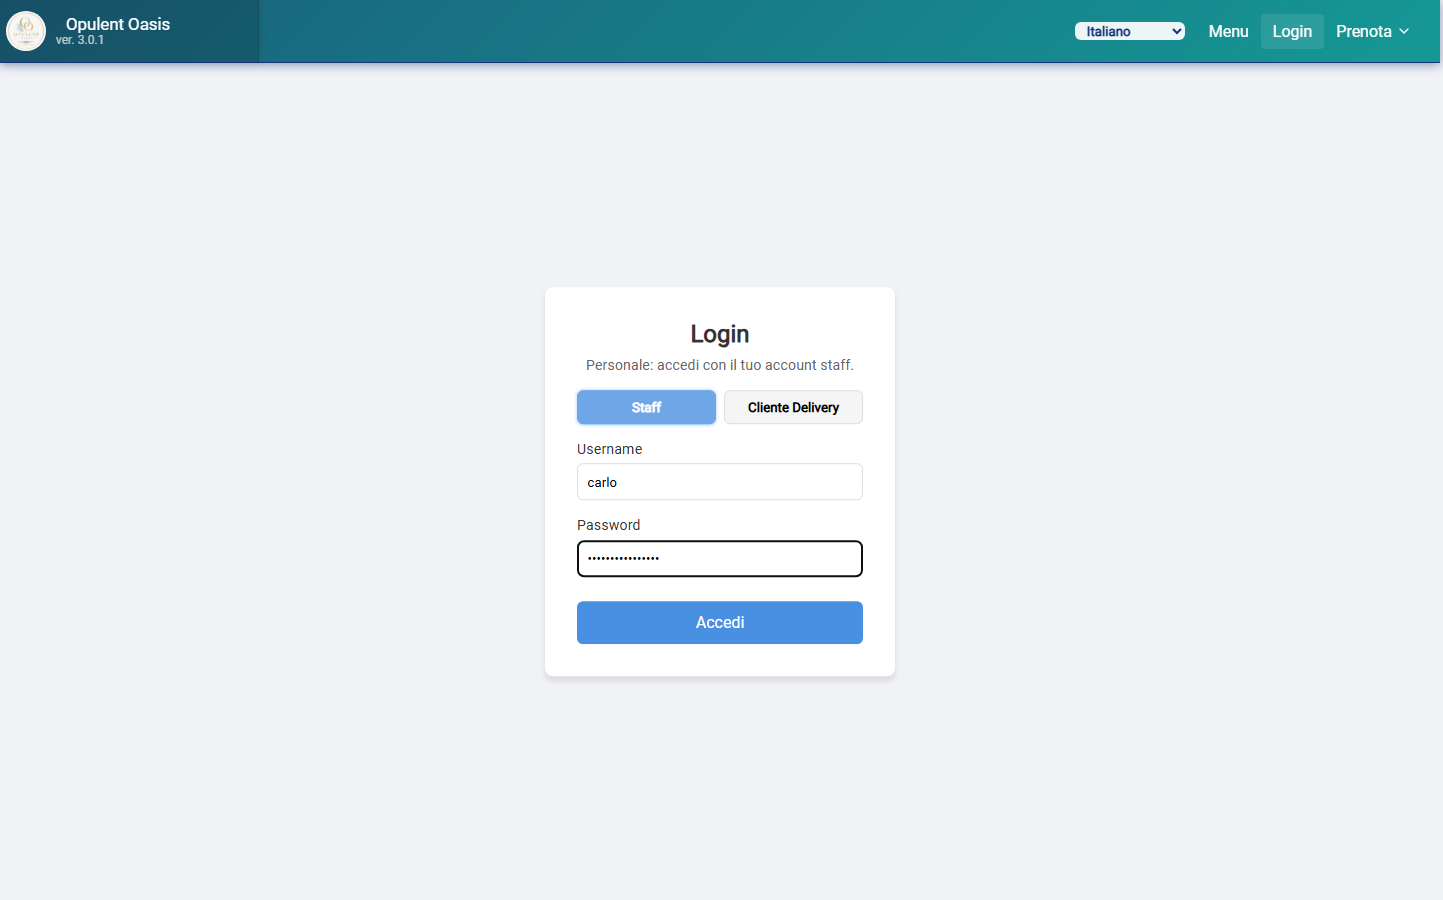
Log in using
your username and password
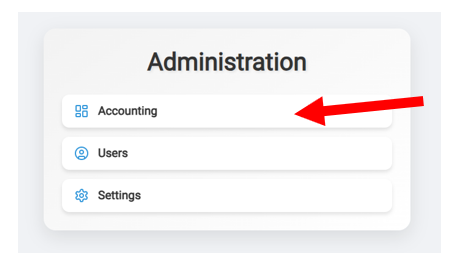
From the login
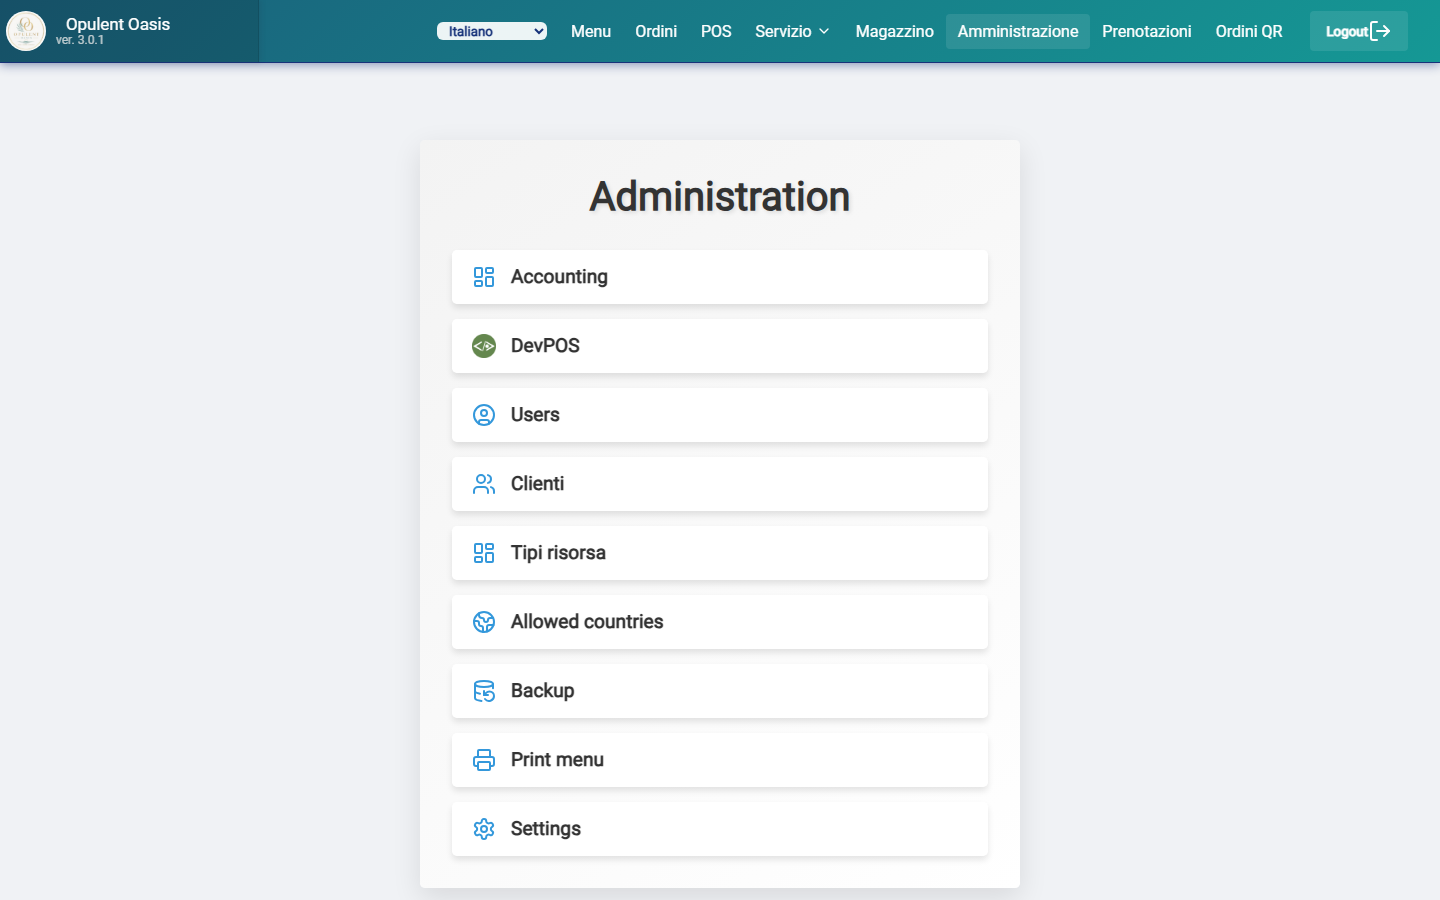
page, type Administration in the top navigation bar.

2.1.
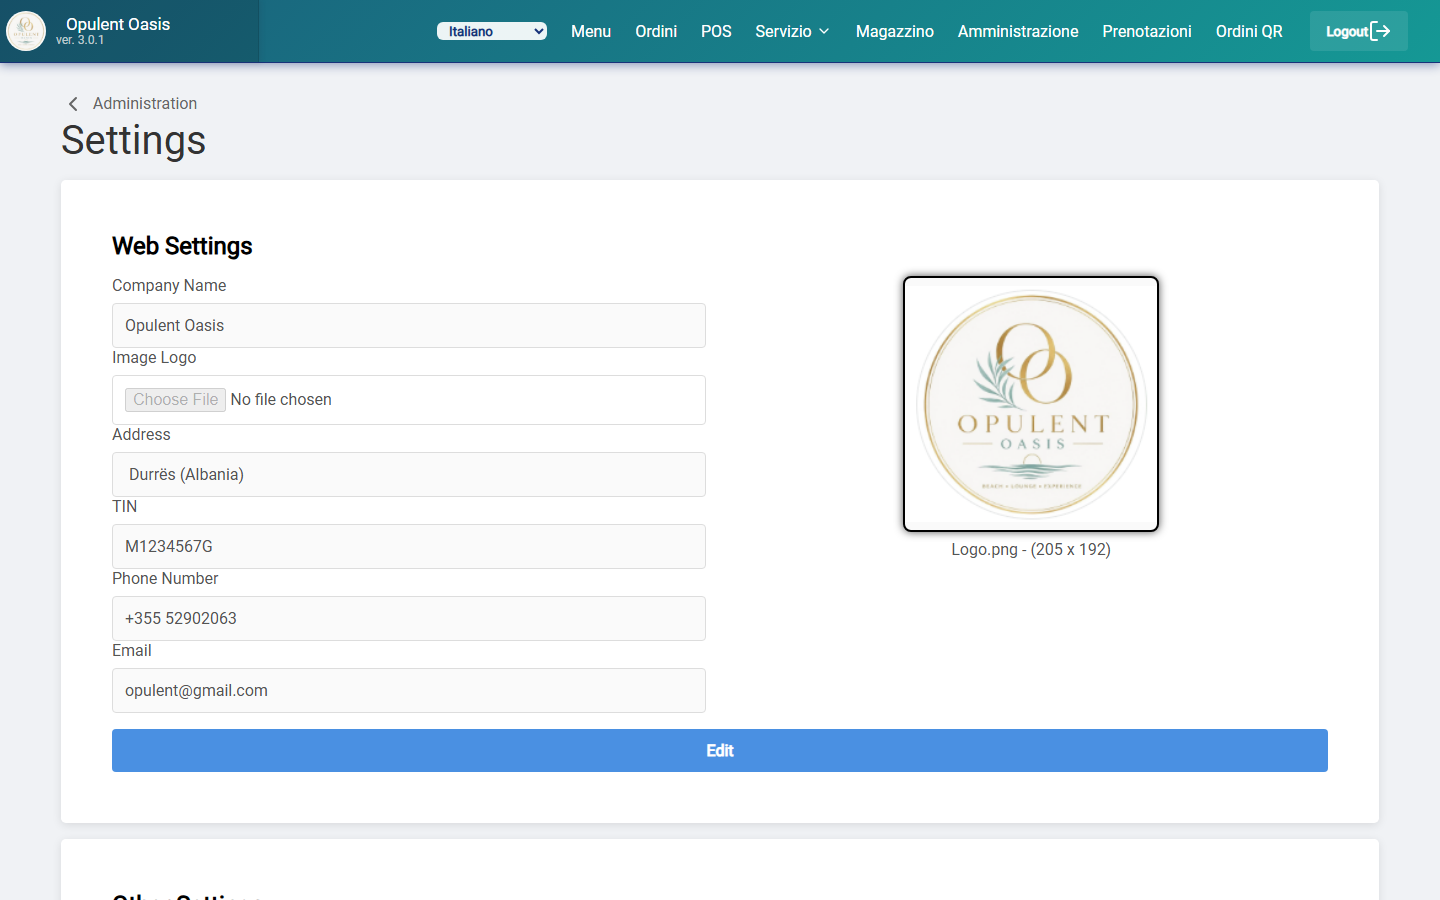
Web App Parameters Configuration
Parameters: ( * = optional )
-
Activity name
(Displayed in the program, menu and printed on
receipts)
-
Image *
(Displayed in the program and menu)
-
Address *
-
Company VAT number
-
Phone number *
-
E-mail *

Press 'Edit', enter the license code issued by ICTDC.AL and confirm by
pressing 'Save'
2.3.
Fiscalization Configuration
2.3.1. D evPOS

DevPos box

Enter your company details, to access the DevPOS.al platform and save by
pressing ' Apply '.
Once the parameters are entered correctly, press the ' DevPOS Page' button
at the top right.

At this point, record a new cash register or enter the existing one using
the ' Add ' button to the right of 'Cash Register '.
Cash register setup too, DevPOS setup is done
(every day you need to open the cash balance from the section below)
Type 'Edit' and select the EasyPOS box

Enter http connection string to EasyPOS program and authentication string,
save by pressing ' Apply '

EasyPOS fiscalization program has been configured , you can access the
administrative page by pressing ' EasyPOS Page' in the top right.

You can configure ' EasyPOS ' to automatically perform the daily cash
register declaration or you can perform it by pressing the ' Add ' button on
the right of ' Balance Declarations '


It is possible to add N currencies to the platform, respecting the
following criteria:
-
Display Name
-
Code: international currency code that complies with the
ISO 4217 standard
-
Value:
1 Main Currency = X Currency to add
1 Currency to add = 1 / X Main Currency
-
Symbol Displayed
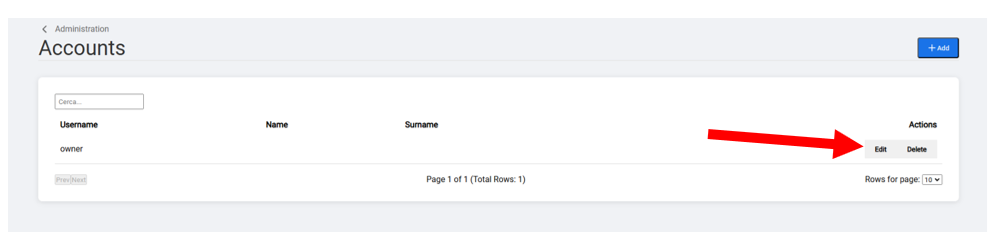
From the Administration page, type
'Users'.


Add ' button

Enter New User Information:

-
Username (used for login)
-
Password (used for login)
-
Role
o
Owner : Full
access to the program (orders, warehouse, users, menus)
o
Manager: full
access to the program (orders, warehouse, non -owner users , menus)
o
Waiter
(waiters): full access to active orders (without authorization can not modify,
only add), access to the warehouse
o
Service-Staff
(counter/kitchen): access to active orders, menu and stock
-
Operator code: used for fiscalisation
-
Name, Surname, Email , Telephone: optional parameters)
3.2.
Edit User

Possibility to change or not the
password and other parameters

4. Warehouse
Configuration / Menu
From the
navigation bar, type Warehouse .


From the warehouse page you can manage:
-
Products for sale in the Menu
-
Products used for processing
-
Product categories
-
Product Suppliers
-
Purchase orders called 'replenishments'


-
To insert a new category, simply write the name of the
category and press the save button.
-
To modify a category, click on the category and modify
the data in the Form on the right, then save.
-
Categories can be sorted based on the menu display
choices, to change the order of a category, you need to hold down on the
specific category and drag it to the desired position.


Parameters to
add:
-
Name:
Name
displayed on menus, orders, and receipts.
-
Category
Product
type (see section 4.1 ), for menu separation and in graphic reports.
-
Description *
Product
description, displayed in the menu.
-
Ingredients *
List of
ingredients, displayed in the menu, used to search for products.
-
Unit
Product
sales unit example: 33cl, un, 1plate
-
Unit Cost
Single
product selling price
-
VAT
Percentage
VAT attributed to the product
-
Currency
Product
selling currency (see section 2.4 )
-
Image
Product
presentation image, displayed in the menu
-
For Sale
If the
product is a saleable product (all products in the menu) otherwise if it is a
product used for production leave unmarked
-
Available
If a
product is currently for sale, otherwise the product will still appear in the
menu, but marked as unavailable.
-
Quantity Calculated by Warehouse
Mark
this item if you want to keep track of the quantity of products used, consumed
and sold. (inventory)
-
Amount
Quantity
currently physically available in the business's warehouse.
-
Compound
To be
marked if the product is composed of one or more different products.
Example:
water with ice = 1 50cl bottle of water + 4 ice cubes
With this
option active, for each consumption of the product composed of water, 1
bottle of 50cl water and 4 ice cubes will be deducted from the warehouse
For the
product compositions to work, it is necessary to compose a list of the required
ingredients.


Press 'Edit' and change the required
fields, then press 'Save'.
5.
Supply Management


5.1 .1 New Supplier
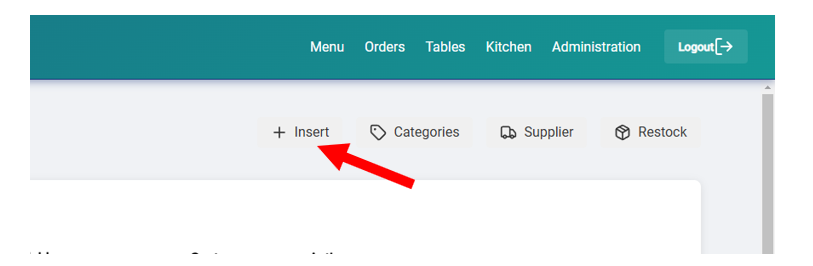
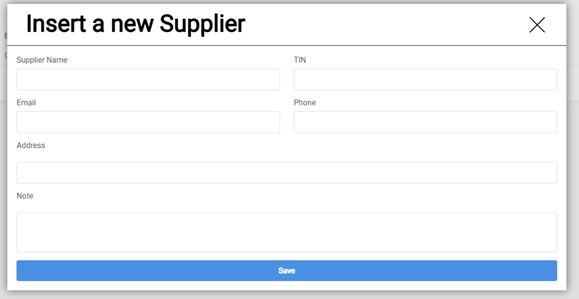
To add a new supplier, click on the '
Add ' button at the top right, fill in the form with your details (only the
name is mandatory)

5.1.2. Change
Supplier
Press the 'Edit' button on the
designated supplier, and edit the data in the Form.

View page Supply orders in delivery /
completed.

5.2.1 New
Supply

Please enter the
following data:
-
Supplier: (select from list)
-
Order Execution Date
-
Payment Method
-
Paid: (the material has already been paid for)
-
Payment date
-
Order Notes
-
N* Product: (selected from the list)
-
Expected delivery date
-
Arrival date
-
Unit cost
-
Quantity purchased
-
VAT
-
Total cost
-
Article Notes

From this screen you can mark the order
paid and mark item by item, the arrival date.
-
For products
calculated from the warehouse, the quantity will be updated based on the
replenishment performed, and only at the time of delivery.

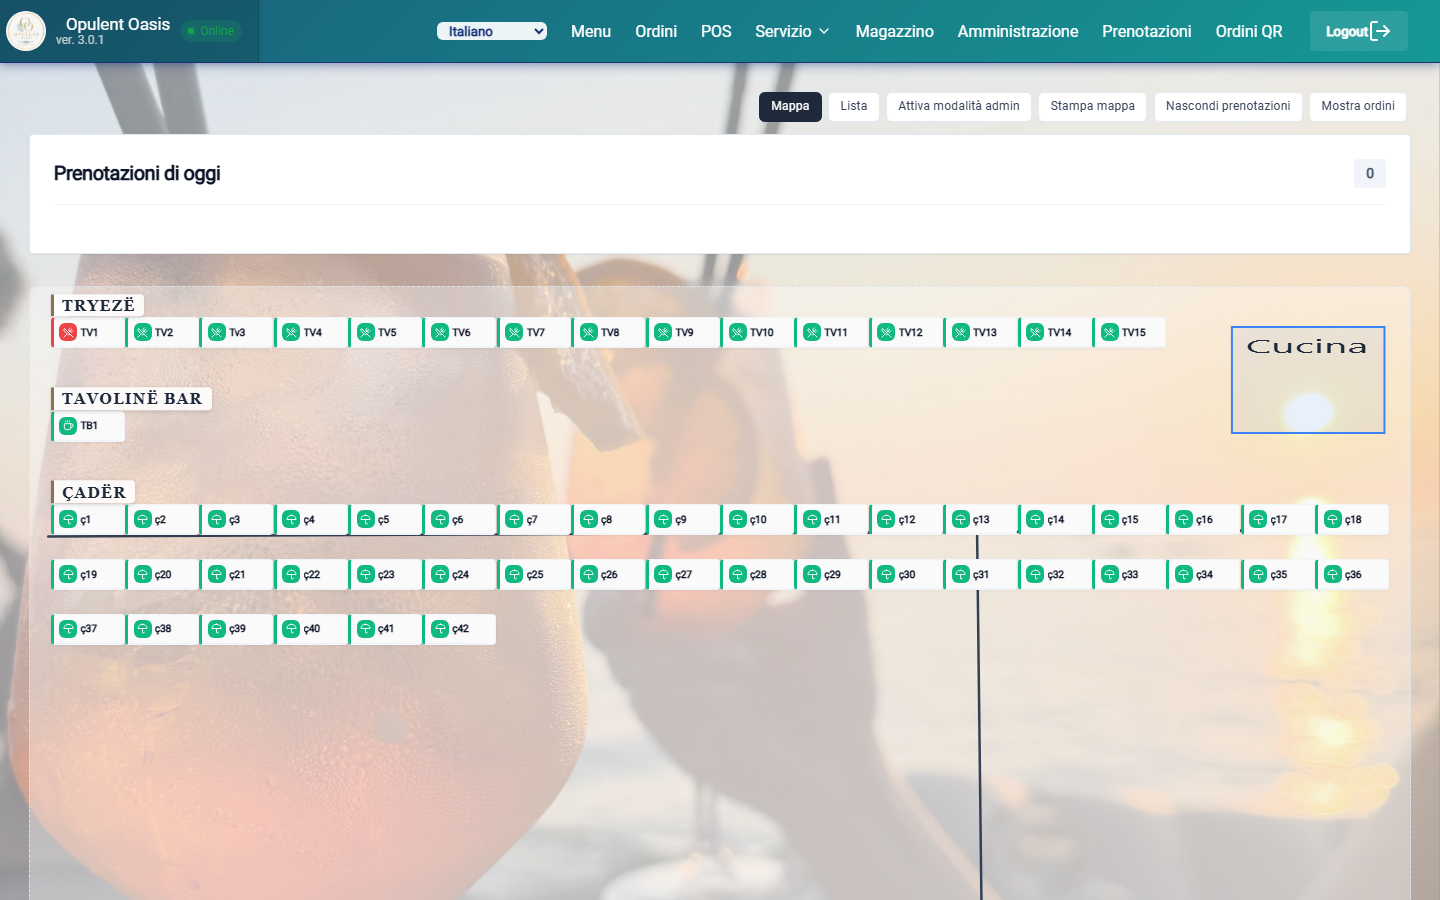
On the tables page,
all the tables in the activity are displayed in blocks, and marked with a green
badge if they are available and red if they are occupied.
To occupy a
table, simply click on an available table and you will automatically be
redirected to the new order page.
By pressing
'Show Order Items' you can view the active orders for each table
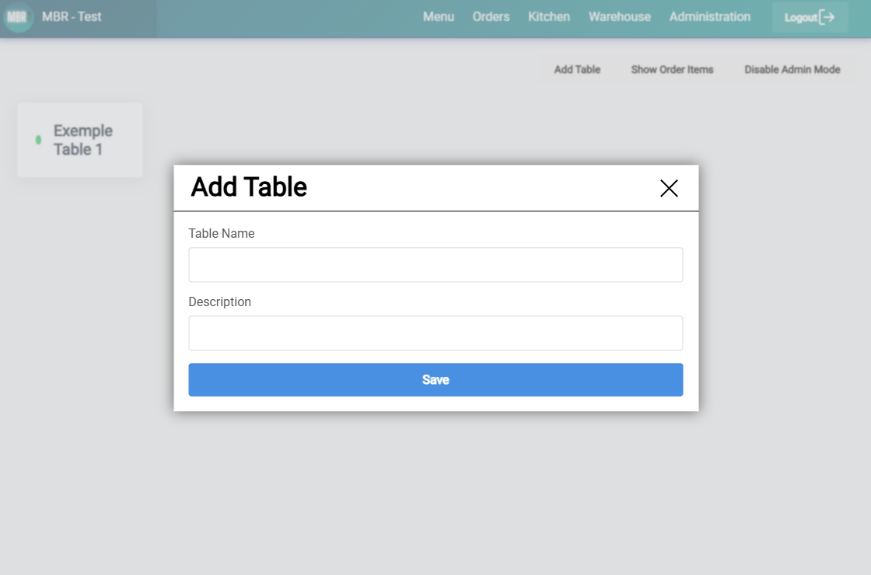
To add a table you need to press '
Activate Admin Mode' at the top right, then press ' Add Table '.


Once you are in Admin mode, right-click
on the table you want to select and type 'Edit'.

Once you are in Admin mode, right-click
on the table you want to select and type 'Delete'.
Once you have occupied
a table and placed an order, you can access the order page.


To add commands
you need to press the green button with the ' + ' symbol in the top
right.


Once the desired
product has been selected, the 'unit cost' and 'vat' fields are automatically
filled in, you just need to set the quantity requested by the customer.
You can select
the product status between 4 different statuses:
-
Pending : when a product is waiting to be processed
-
In Progress ( InProgress ): when a product is in a state of being processed
-
Ready: when a product
is ready to be delivered to the customer
-
Served : when a product has been delivered to the customer
At the end of
the product configuration, press the ' Add ' button.

You can view the
list of products in the order being placed.
After adding the
products requested by the customer, press 'Save'.
7.2.
Adding Orders from QR-Code
In the product
entry screen, press the ' Scan QR' button


Scan the
customer's QR code, the selected products will be displayed in the list of
products to add

7.3.
Printing of products for processing (Desktop/laptop only)
To print the
order with the products to be processed, you must select the desired products
and press 'Print'


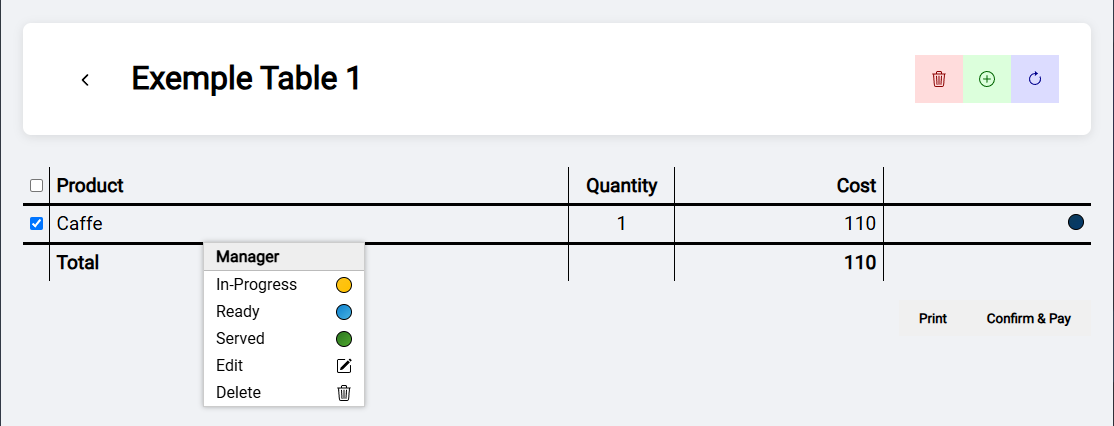
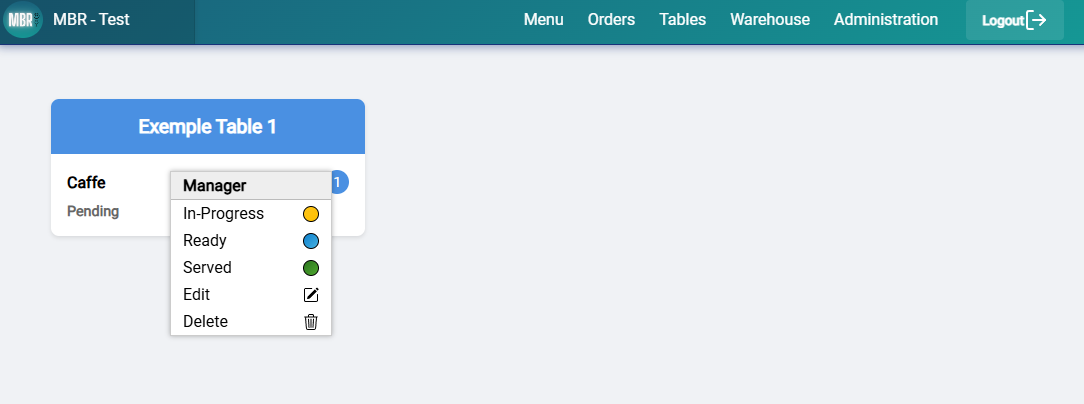
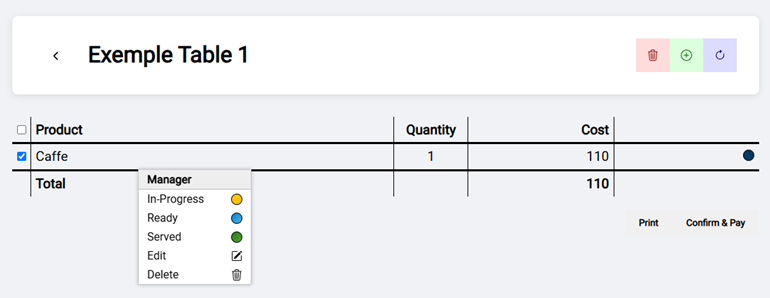
By clicking on
the selected product, you can change its processing status, delete it from the
table or modify its quantity.

7.5.
Order completion (Desktop/laptop only)
Confirm &
Pay ' button

There are 3 different ways to close an order:
-
Normal
closure: the account is closed with a receipt printed, pending payment from the
customer

-
Deferred
payment: When the customer does not pay the bill instantly, the order is
suspended pending payment.

-
Tax Payment:
Complete and final closure of the account is performed.


8.
Order History Management


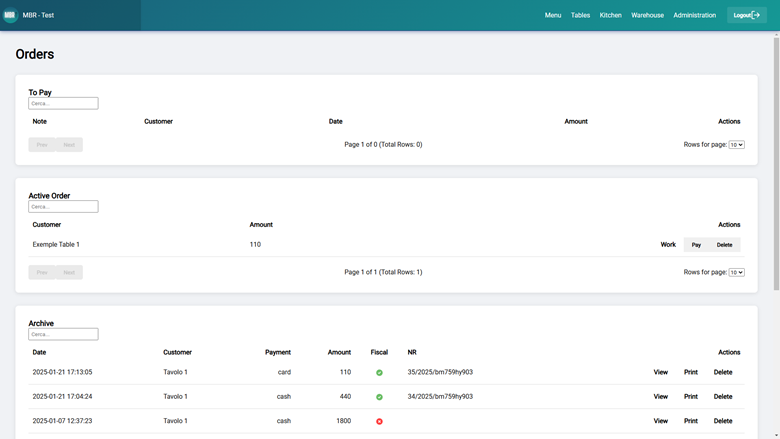
The order management page displays:
-
Orders in Process: it is possible to continue processing,
close the order and possibly cancel an order.
-
Orders awaiting payment: you can pay or delete them
-
History of all orders, viewing and printing of receipt

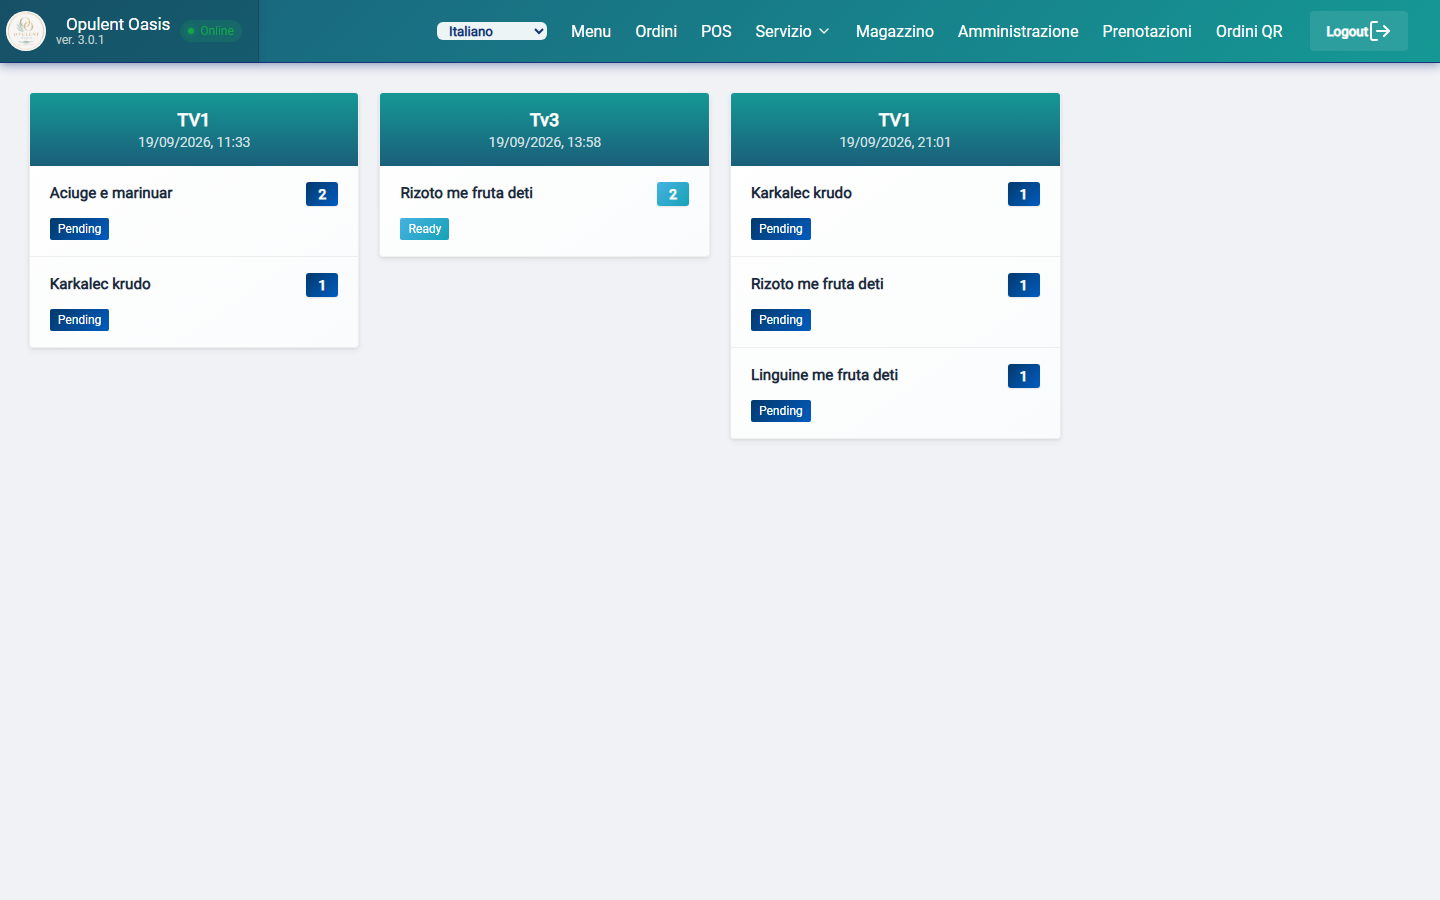
Designed to be displayed at the counter or in the kitchen, the Kitchen page
displays only unprocessed orders in real time.


You can change the status of the
products by simply pressing on the selected product

The menu displays all the products on sale and available
and their categories

The data shown is:
-
The name of the Product,
-
The Image,
-
The Description
-
The Price
-
The Ingredients
-
The unavailability of the Product